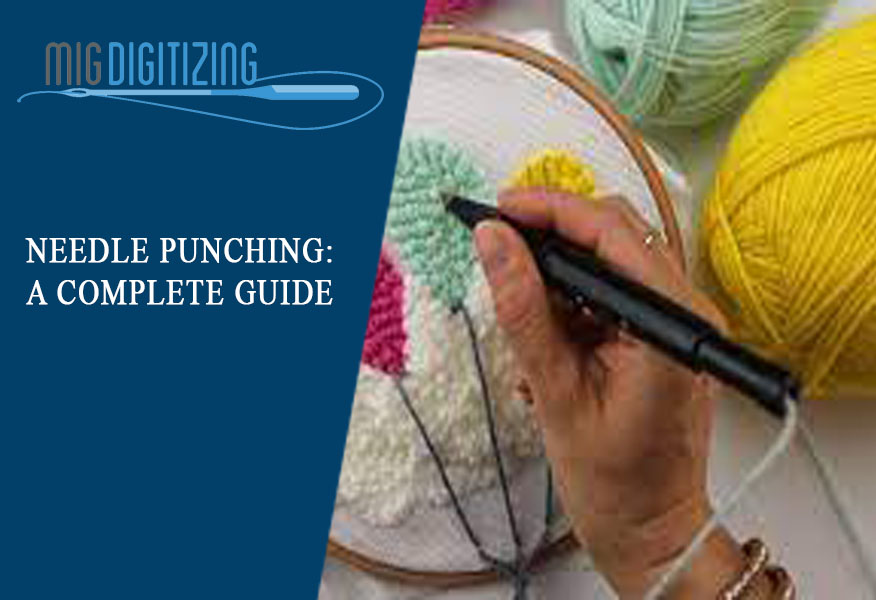
This comprehensive beginner's guide and step-by-step instruction will teach you how to punch needles. This article has all of the information you'll need to get started crafting amazing punch needle art right away!
You may construct a variety of crafts, such as wall pillows, carpets, and hangings once you master the basic technique. Punch needle embroidery is a fun and creative technique that is enjoyed by both novice and professional crafters. It's also straightforward to get started!
What is the purpose of a needle punch?
Yarn is inserted into the eye of the needle through the hollow stem. On the reverse side of the foundation fabric, a pile is formed by a sequence of loops. A punch needle tool is a long needle with a hollow stem, a bevelled point, and a big eye. Yarn loops are created by punching the needle's point through a woven base material.
To manage the length of the yarn loops, some incorporate an adjustable depth gauge.
Punch needle instruments come in a variety of shapes and needle sizes.
What is Punch Needle Embroidery, and how does it work?
The artist creates a design by "punching" loops of wool yarn through holes in a woven foundation cloth with a hollow needle tool. Punch needle is a comparable needlework method to rug hooking. The pattern has a rugs-like appearance due to the pile (a series of loops).
History of the Needle Punch
Our modern version of punch needle evolved from more conventional rug hooking techniques in the late 1880s to become the art form we know today. Medieval clothes and religious panels were embellished with fine punch needle needlework. Punch needles have been around for hundreds of years, if not centuries. Rugs were later manufactured with stronger yarns using this technique.
What Is a Needle Punch and How Do I Use It?
Make a pattern with your pattern on the foundation cloth. After that, thread the punch needle tool with yarn. Each stitch creates a yarn loop that is held in place by the tension of the foundation fabric. Starting from the back or "wrong" side, make a sequence of stitches in the fabric with the punch needle tool.
Remove any errant loops and trim the remaining yarn ends. Finish the back or the edges as required. Remove the fabric from the frame once the design is finished.
What Is a Needle Punch and How Does It Work?
A length of yarn is pulled down each time you press through the perforations in the foundation fabric. A string of continuous yarn loops is created using the punch needle tool. The length of yarn folds up to make a loop when you bring the tool back up to the fabric's surface. As you fill in the design, the strain of all the loops packed together keeps everything securely in place. As you work on the next stitch, the loops are held in place by the woven foundation material.
Although the "right" side of the piece is traditionally referred to as the looped side, some artists prefer to display the rear side of their work as the "right" side — it's a personal preference! As a result, punch needle patterns are printed backwards. The backside of a finished punch needle item looks like a needlepoint, but the front (or right) side has loops that look like hooked rugs. Punch needle tasks are frequently performed on the fabric's opposite side, or "wrong" side.
Needle Punch Types
The term "punch needle" refers to a variety of embroidery techniques. Japanese Bunka embroidery, Miniature punch needle needlework (also known as Russian punch needle), and punch needle rug hooking are the most common.
There are two types of punch needle tools available on the market these days:
Embroidery with a punch needle. Igolochkoy, or "Russian little punch needle," is another name for it. The first method involves punching fine threads and embroidery floss through a tightly woven fabric known as weaver's cloth with a small gauge needle tool.
Rug hooking with punch needles. This technique is more akin to rug hooking. The second method involves punching thick wool strands through a loosely woven fabric called monk's cloth with a bigger gauge needle tool.
How to Make a Punch Needle Frame
To finish the frame, nail the carpet tack strips to the completed wooden frame. From wooden canvas stretcher bars and carpet tack strips or gripper strips, you may construct your own DIY punch needle frame. Home improvement retailers carry carpet tack strips as well. Most craft and artist supply businesses have wooden canvas stretcher bars on hand.
To utilise the frame, stretch the monk's cloth over the tacks. You might want to cover the tacks with a large folded cloth to protect yourself while working. While you work, the tacks will keep the fabric taut.


