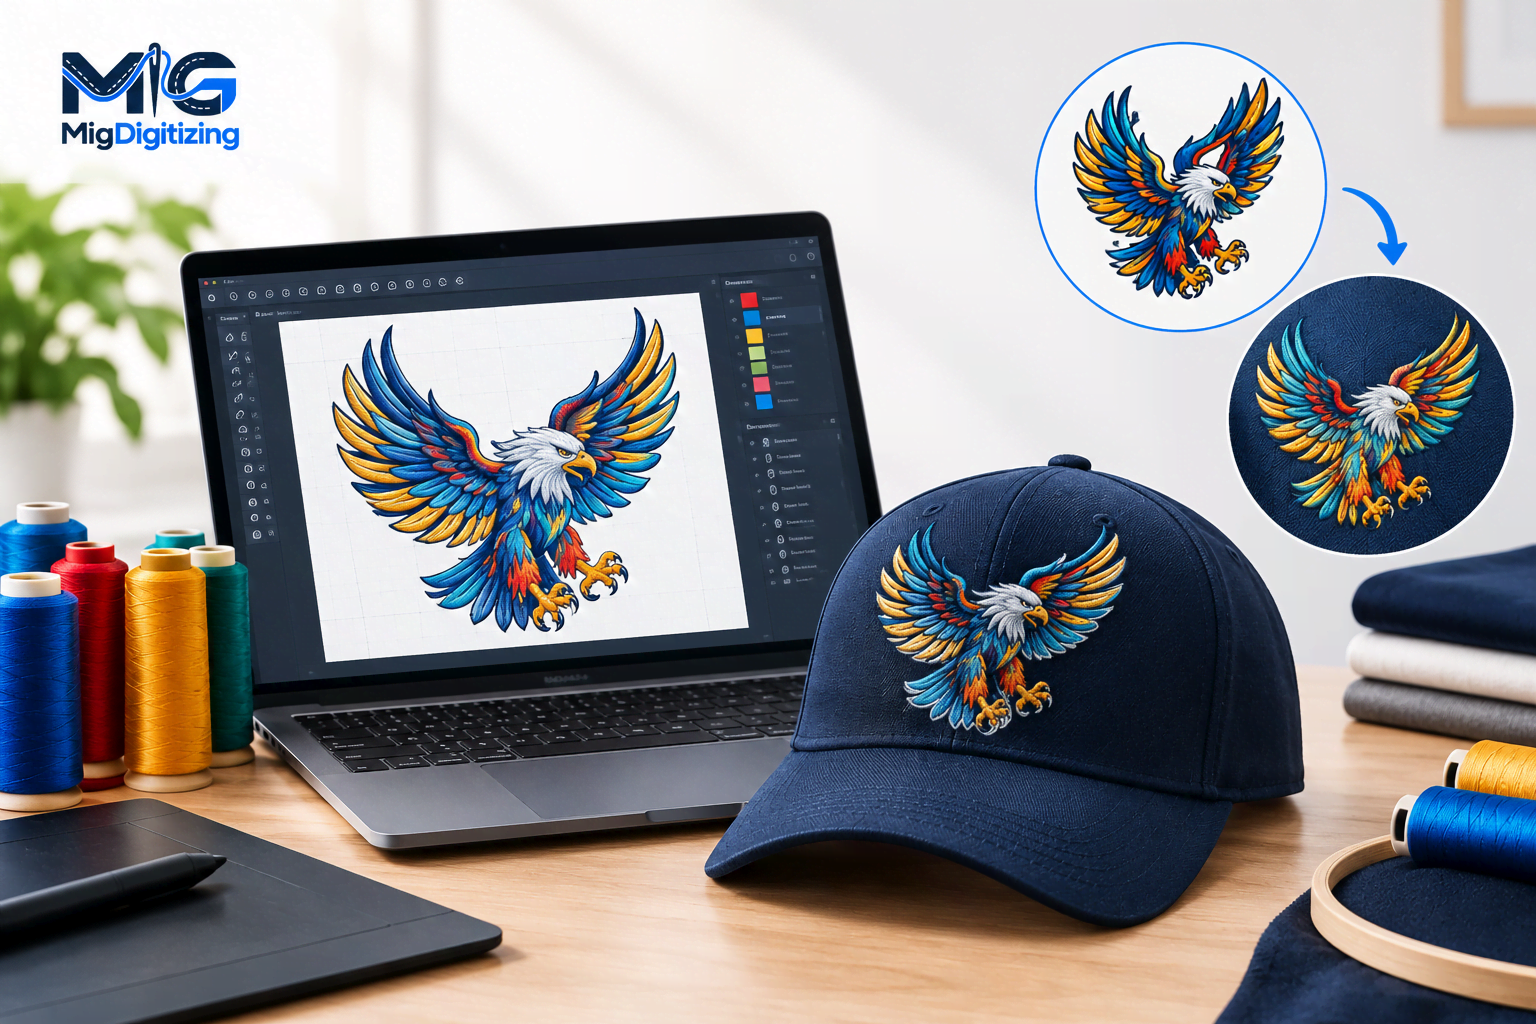
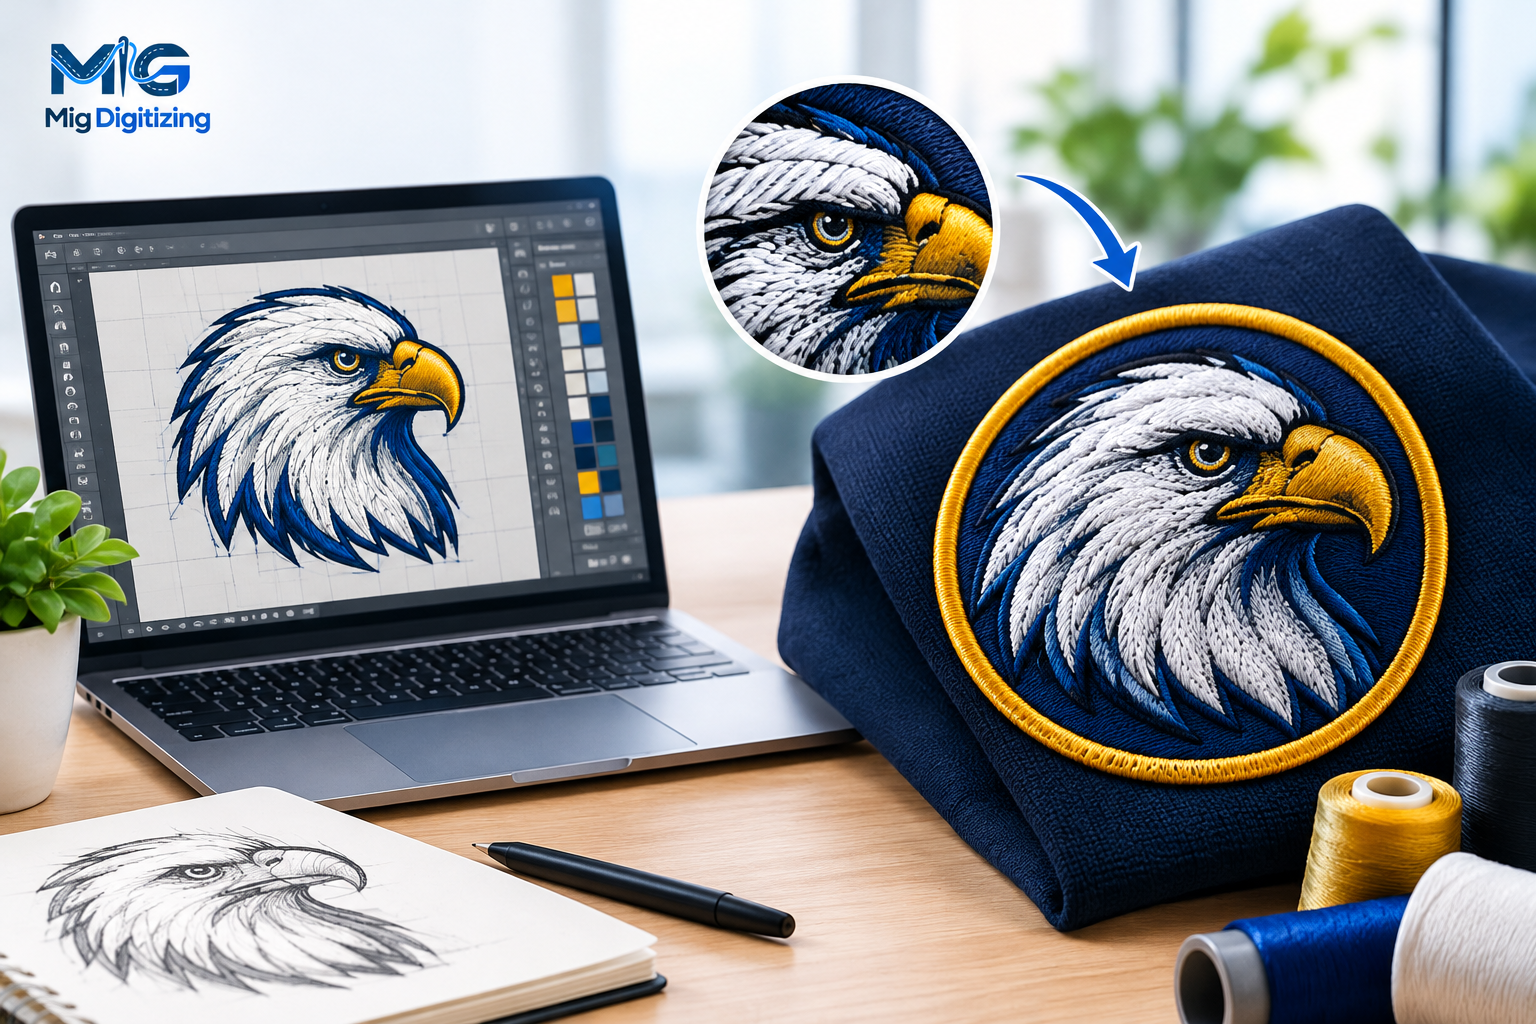
Embroidery seems like an easy thing to do when you see it on a finished item, but when creating a clean and professional embroidery, you’ll find there’s more involved than simply putting an image in an embroidery machine. A machine requires precise directions to tell it how to stitch, in what direction to stitch, how close together to stitch, and how to connect various parts of a design. The process is called embroidery digitizing.
Custom embroidery digitizing services go one step further by creating a stitch file of the artwork for embroidery production. The digitizer will not only check the design, fabric, etc., but will also assess the thread movement, stitch types, and what settings are needed on the machine before preparing the final file.
This preparation may significantly affect the quality of the final product. When the design is well digitized, it will result in clean lines, balanced stitches, readable lettering, and uniform stitching from garment to garment. These are some of the problems that can occur with a poorly prepared file, which may lead to thread breaks, puckering, uneven coverage, distorted shapes, or even a lack of details in the stitching.
Custom embroidery digitizing is the method of turning artwork, logos, text, or another graphic into a file that the embroidery machine can read and understand.
An embroidery file is not just a standard image file like a JPG or PNG file. It includes data related to where the stitches should go, the order in which they should go, the type of stitch, the density of the stitch, the direction of the stitch, and various other production information about the stitches.
In embroidery design digitizing, the professional digitizer looks at the original artwork and decides how the various elements should be embroidered using thread. For a solid background, a different stitch might be needed than for a curved border, and for small lettering, different settings may be necessary than for a large filled area.
Custom digitizing is especially helpful with fine details, gradients, small text, multiple colours, overlapping artwork components, and unusual artwork shapes. The goal isn’t to print out the artwork. The goal is to convert the art into stitches that will give a neat, long-lasting embroidered outcome.
The digitizing file is the pattern that is used to create machine embroidery. The directions it gives affect the movement of the needle and the way the thread is threaded onto the cloth. This is why digitising is a crucial aspect of the quality of embroidery.
Important aspects of the original design can be retained in a professionally digitised design, which can take them into consideration.
Embroidery is different from printing because it is a physical embroidery stitch with a definite width and thickness. Very small lines or very small spaces might not be represented exactly in thread from a digital picture. An experienced embroidery digitizer can make some things simpler, alter shapes, and decide which parts to enlarge or change.
This is particularly crucial in the case of logos and branding. Good logo embroidery digitizing will maintain the recognizable shapes and proportions of the design and ensure that it is suitable to be stitched.
In addition, it controls stitch density and Stitch Direction.
Stitch density is about the proximity of stitches in an area. Excessive stitch count can lead to unnecessary weight in the design, potential thread breaks, stiffness, or even distortion of the fabric. Fewer than the required number of stitches may result in gaps or weak or uneven coverage.
The direction the stitching goes in is also crucial. Reversing stitches can be used to outline or enhance shape, texture, and light-reflecting qualities of embroidered surfaces.
These variables can be modified through custom digitizing when embroidering, instead of using the same settings for all parts of the design.
Inadequate and/or too many stitches can cause unnecessary strain on thread and fabric. Areas that have been repeatedly penetrated with needles can pose issues in production, especially if the design includes large filled areas.
While working with the design from start to finish, professional digitizing is mindful of the design’s stitching. Patterns can be arranged to minimize the need to make unnecessary movements, and density and underlay can be modified to reinforce the pattern.
This is not a complete list of production issues, as thread, needles, machine condition, tension, and fabric all factor in. But an adequately digitised file gives a much more solid base for production of reliable embroideries.
What is effective on a structured cap can have to be modified when embroidered onto a lightweight T-shirt, fleece material, jacket or loose fabric.
The resistance to penetration and tension of various materials varies. There are some fabrics that need extra support and some that may need density or underlay changes.
That is why it is crucial to digitize embroidery by fabric type. Adjustments made for specific designs can accommodate the properties of the material rather than assume they act the same for every item of clothing.
One of the most difficult factors to deal with when doing machine embroidery is the small text. Inappropriate stitch settings can cause letters to become crowded, closed, or difficult to read when created at a small size.
Professional digitizing may entail altering letter shapes, fine-tuning spacing requirements, picking the appropriate stitch type, and removing very fine and intricate information if needed.
Not every pixel of the original artwork is necessarily reproduced. Rather, the purpose is to create an embroidered version that is clear at the actual production size.
Consistency is crucial when a business requires dozens, hundreds, or thousands of garments to be embroidered with the same logo.
Properly prepared embroidery files give instructions that are repeatable on the machine. After testing and optimizing the design, it can be used as a basis for further production.
To keep the business looking the same through uniforms, promotional wear, caps, bags, and more, it’s important to use consistent stitch sequences, stitch density, colors, and design proportions.
When designing with a digitizer, you have to look at the following: not only what the design looks like, but also how easy or difficult it is to stitch it efficiently.
An inefficient stitch path might lead to unnecessary jumps, trims, colour changes, or machine movements. These make the embroidery process difficult and may extend production time.
Machine embroidery digitizing is the art of preparing sets of stitches to ensure that the various parts of the pattern are arranged in a logical sequence and yet still maintain the illusion of the entire pattern.
Improved stitch planning can help ensure smooth production and avoid excessive machine movement without compromising design quality.
There are various file formats for embroidery machines, and various production requirements. The design must then be digitized in the appropriate format that will be compatible with the equipment used.
Embroidery digitizing professionals can prepare embroidery files as per the customer’s desires and machine/piece requirements. This is especially helpful if a design is to be created on various machines or facilities.
Sometimes it is easy to see the difference between a well-prepared file and one that hasn’t been prepared well until the machine begins to stitch.
Inadequate density, sub-optimal stitch directions, or inappropriate stitches will result in uneven coverage. There may be gaps in some sections, and gaps may show in others.
High thread density, poor stitch combination, and sequence can cause thread-related production difficulties. Regularly stopping the production line can cause delays and extra machine maintenance.
Puckering is when the fabric puckers or gathers around embroidered items. It may be caused by a variety of factors, such as the type of stabilizer used, fabric properties, tension, and digitizing selections.
Some very small design details might not show up after being turned into stitches. It may be difficult to get a fine line to reproduce, and small spaces may close during stitching.
If not digitized well, the words can become garbled or hard to read. Curves, corners, and small shapes could also become distorted if the stitch structure is not right for them.
A professional approach will be to consider the design as a work of embroidery and not simply as an image conversion.
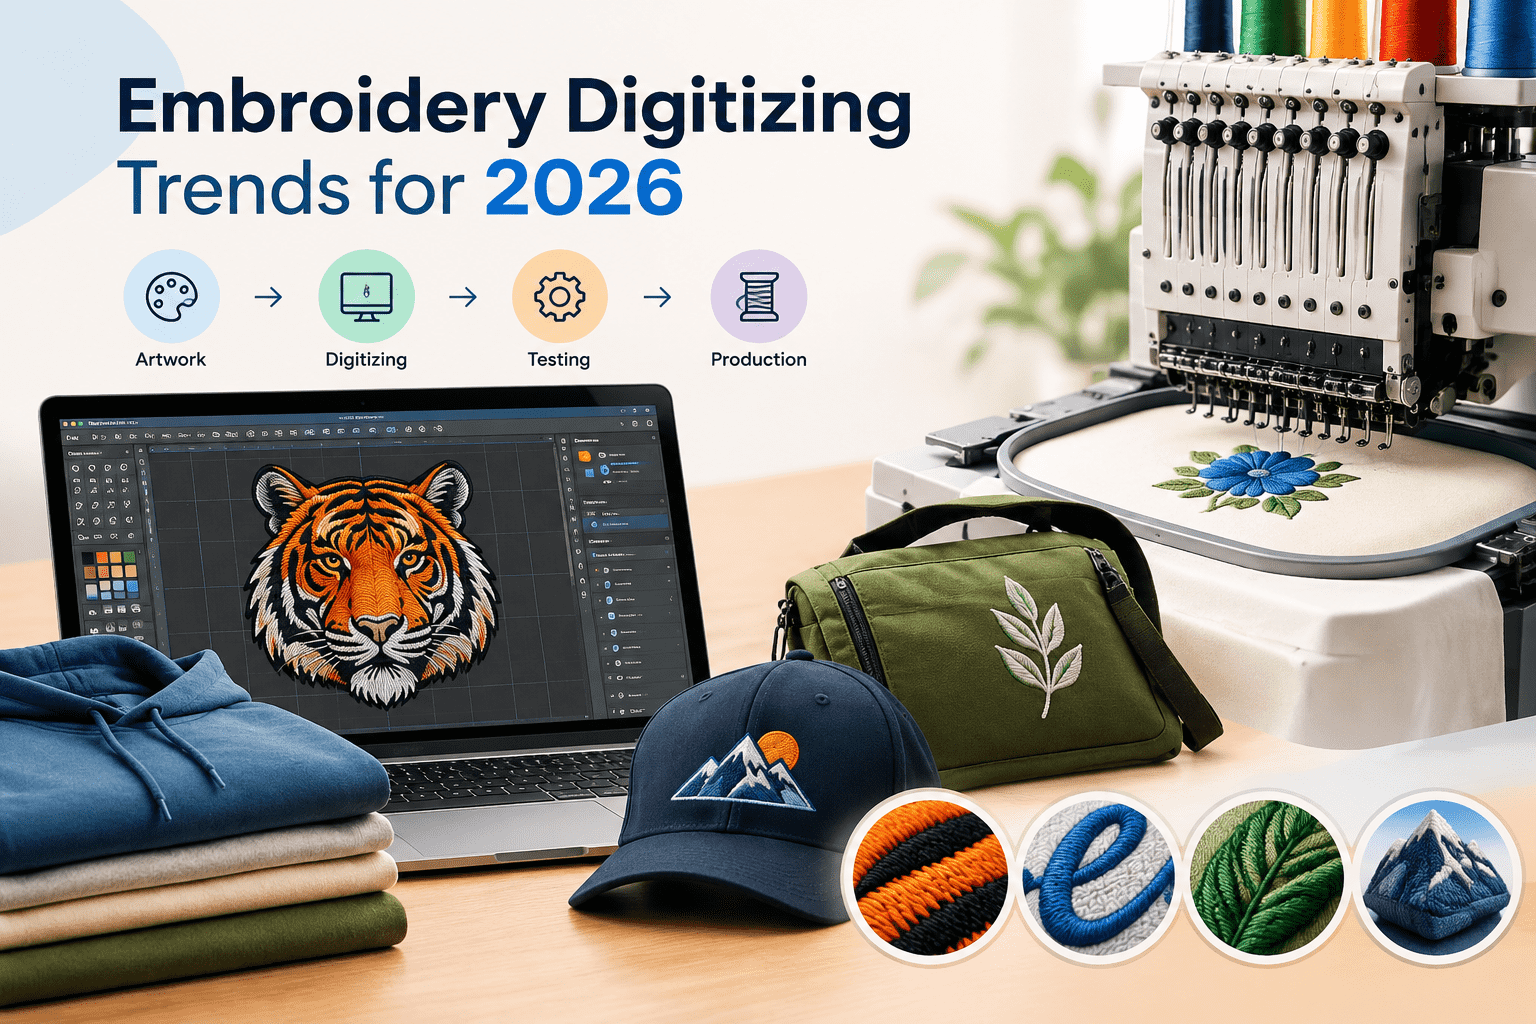
The digitizer then analyzes the artwork to determine the primary shapes, outlines, lettering, overlaps, etc., and identifies any areas that might need to be altered.
Various sections of a design can be filled with satin, fill, running, or other types of stitches. The selection is based on the size, shape, and desired look of each piece.
The density dictates the number of stitches, and underlay provides a base underneath some parts. The appropriate setting provides support to the top stitches and enhances the stability of the embroidered design.
The digitizer takes the material and the product to be embroidered into account. A loose garment, a loose heavy jacket, or a thin fabric might need other digitizing choices.
The presence of testing is crucial in professional digitizing. There are problems that are hard to pick up on the computer screen that can be identified with a sample stitch-out. Appropriate changes can be made to density, sequencing, sizing, underlay, lettering, etc., prior to final production.
Not all designs need a lot of customization. Simple drawings with minimal shapes, good spacing, and clear lettering may be fairly straightforward to convert.
But if the artwork is intricate, the detailing is small, the design requires several elements to overlap, the design has strange dimensions, or the fabric is difficult to embroider, it is best to use a custom embroidery digitizing service.
The size of the embroidery also has to be considered. A design that functions at 8″ might not function correctly at 2″. When artworks have to be reproduced in different sizes, custom adjustments may be needed to ensure clarity of the image.
The two digitizing methods are automatic and custom. There are two types of digitizing: automatic and custom.
Automatic digitizing can be beneficial for simple artwork and initial conversions. There is software that can be used to analyse an image and create stitch patterns according to pre-defined settings.
Simple artwork can be transformed into embroidery files in no time at all with automatic tools. They might be suitable for simple shapes, simple graphics, and cases where speed over optimization is more important.
They may also offer a point of departure for a digitiser to further edit and refine.
However, software is not always as practical as a good embroidery digitizer. Some automated conversion may not be useful for handling complex overlaps, small text, unusual shapes, gradients, fabric properties, or complex logos.
This may end up being stitches that are not necessary, stitching that is not in the right order, fabric that is not dense enough, or information that is hard to reproduce on fabric.
It’s not just about how fast digitizing embroidery is when it comes to custom embroidery digitizing vs. automatic digitizing. This is dependent on design and production needs.
Professional embroidery digitizing services offer more control over the final embroidery stitch structure when dealing with detailed logos, branded clothing, large quantities, specialty fabrics, or complex artwork.
Another time custom digitizing can be beneficial is when a previous file has resulted in less-than-desirable embroidery and has to be rebuilt instead of merely converted again.
Artwork can be useful for digitization, but may require some changes by a professional digitizer for embroidery.
Use the best design that is available, whenever possible. Vector images like AI, EPS, or SVG may be useful, as you can analyse the shape and change it without regard to the quality of the image.
If possible, it’s useful to include the size of embroidery, type of garment, fabric, thread colors, and desired machine format.
In cases where it includes small text or fine detail, discuss the final size of the design before the design is digitized. A professional will then be able to assess which parts require enlargement, modification, or simplification to make stitches more visible.
For those who order custom digitizing services, these production details might help prevent needless revisions and might ensure that the digitizer produces a file that’s appropriate for the actual use.
Oct 19 , 2026 at 06:55:41
Oct 14 , 2026 at 09:00:43
Oct 13 , 2026 at 08:17:47