Choosing the correct embroidery file format is an important step between preparing a design and producing a successful stitch-out. A logo may look perfect on a computer screen, but the embroidery machine still needs a compatible file containing the stitch instructions it can read. If the format is incorrect, the machine may reject the file, display incomplete information, or require additional preparation before production.
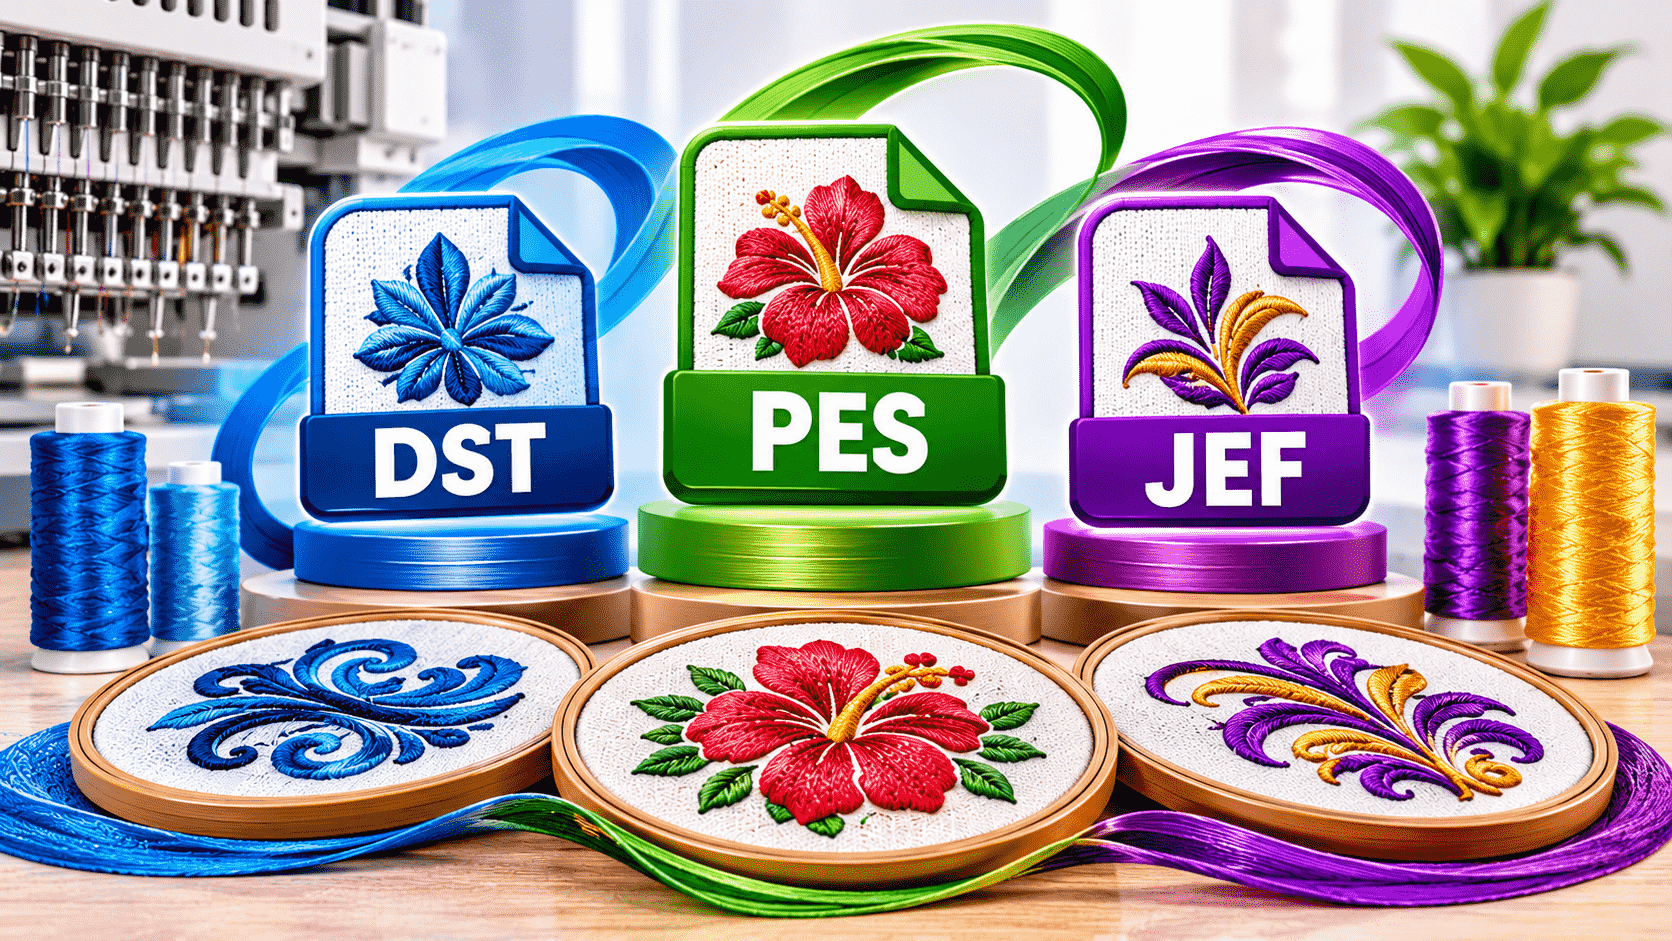
Three commonly discussed embroidery formats are DST, PES, and JEF. Each has a different history, typical use, and level of compatibility with embroidery machines. Understanding their differences helps home embroiderers, professional digitizers, apparel businesses, and custom patch manufacturers avoid unnecessary delays.
The important point is that these formats are not simply different image extensions. They are ways of encoding embroidery instructions. The correct choice depends on the machine model, the software being used, the information preserved in the file, and the requirements of the finished project.
This guide explains how DST, PES, and JEF work, which machines commonly use them, what information they retain, and how to request the right format when ordering professional embroidery digitizing.
DST: Widely used in commercial embroidery production and associated with Tajima-compatible workflows. It is a common choice for sharing stitch files between professional embroidery systems, but thread colors may need to be assigned separately.
PES: Commonly associated with Brother and Baby Lock embroidery machines. It can preserve thread-color and design display information, depending on the version and software.
JEF: Commonly associated with Janome embroidery machines and certain compatible Elna models. It is designed for supported Janome workflows, with compatibility varying by model.
Which format should you choose? Start with the exact make and model of your embroidery machine. Check the manufacturer's supported formats before downloading, converting, or ordering a design. A format that works on one model may not be supported by another model from the same brand.
An embroidery file format determines how digital stitch instructions are stored and interpreted by embroidery software or a machine. Unlike a JPG or PNG image, a machine embroidery file does not merely describe the appearance of a design. It contains instructions that guide the needle through a sequence of movements.
Depending on the format, file data can include:
Stitch coordinates and stitch sequence.
Jump movements between stitched areas.
Stop commands and color-change points.
Thread-color information or palette references.
Design positioning and other supported metadata.
When a machine reads the file, it follows the instructions to reproduce the digitized design on fabric, a cap, a garment, or a patch material.
This explains why an image file cannot normally be sent directly to an embroidery machine. A JPG may show a company logo clearly, but it does not automatically specify the stitch type, stitch direction, underlay, density, or needle movements needed to embroider that logo.
The artwork must first be converted into embroidery instructions through a process called embroidery digitizing.
DST is a machine embroidery format widely used in commercial embroidery production. It is strongly associated with Tajima machines and is also supported by many other professional embroidery systems.
Its popularity comes from its established role in production workflows. Embroidery shops frequently exchange DST files with digitizers, production teams, and customers because many commercial machines and embroidery applications can work with this format.
A DST file primarily stores stitch movement information and machine-related commands. It tells the machine where to stitch, where to move without stitching, and where certain stops should occur.
A key limitation is that standard DST files do not preserve thread colors in the same way that some other formats do. Color-change stops can be present, but the operator may need to match those stops with the intended thread colors using a color chart, design preview, or production notes.
For example, a company logo may contain navy lettering, a white outline, and a red symbol. The DST file can preserve the stitch sequence and color-change positions, but the operator may still need to assign the correct threads at the machine.
Widely used across commercial embroidery workflows.
Convenient for sharing stitch data between compatible systems.
Suitable for many professional logo embroidery jobs.
Commonly accepted by commercial embroidery machines.
Useful when the production team manages thread colors separately.
Thread-color information may not display as expected in every application.
It does not retain the original editable digitizing objects.
A stitch file is not a substitute for the original working file.
Compatibility should still be checked against the machine's manual and software.
DST is often a practical option for commercial production, but it should not automatically be treated as a universal format for every machine. Confirm the requirements of the specific equipment before relying on it.
PES is commonly associated with Brother and Baby Lock embroidery machines and is widely encountered in home embroidery and small-business workflows.
For users working with supported machines, PES can offer convenient design handling and color-display information. The exact features depend on the PES version, the machine model, and the software used to create or open the file.
PES files can carry stitch instructions along with supported design and thread-color information. This may help the machine or software display a design more clearly before stitching.
Imagine that you are embroidering a floral monogram with green leaves, pink petals, and a yellow center. A compatible PES workflow may show the intended color sequence, helping the operator prepare the thread changes before starting the project.
However, displayed colors should not be confused with a guarantee that the physical thread will match the screen exactly. Screen colors, software palettes, and actual embroidery threads can differ.
Commonly used with compatible Brother and Baby Lock machines.
Can preserve useful color and design-display information.
Convenient for many home embroidery projects.
Suitable for personal embroidery, monograms, and small business orders when the machine supports it.
Not every machine supports every PES version.
Some files may need conversion or adjustment for a particular model.
Opening the file does not guarantee that the design is properly digitized.
The original editable digitizing file may still be required for significant changes.
If you use a Brother or Baby Lock machine, PES is a sensible format to check first. Nevertheless, verify the exact model's specifications rather than relying only on the brand name.
JEF is a machine embroidery format commonly associated with Janome embroidery machines. It is used in many Janome-oriented workflows and may also be supported by certain compatible Elna machines.
For a Janome owner, receiving a JEF file can simplify the process of loading a design and preparing it for stitching. As with other formats, compatibility depends on the machine model, supported file version, and transfer method.
JEF stores embroidery stitch instructions in a form supported by compatible machines and software. Depending on the workflow, the file may also include information used to display the design and its intended thread sequence.
Consider a small butterfly design intended for a tote bag. The artwork must first be digitized with suitable stitch types, stitch directions, density, and sequencing. Once the stitch plan is ready, it can be exported to a supported JEF format for a compatible Janome machine.
Changing the file extension alone does not create a valid JEF file. Proper export or conversion software is required.
Commonly used for compatible Janome embroidery machines.
Convenient for many personal and small-business projects.
Supports machine-ready stitch instructions.
Can be appropriate for designs prepared specifically for a Janome workflow.
Compatibility varies across models and software versions.
It may not be the right choice for a Brother, Baby Lock, or commercial machine.
Converting from another format cannot restore missing design objects or digitizing settings.
The quality of the finished embroidery still depends on the stitch plan and production setup.
For Janome users, the best practice is to confirm the model's supported format and use a properly exported JEF file where required.
The most useful comparison is not which format is universally “best,” but which one fits your machine and production requirements.
| Feature | DST | PES | JEF |
|---|---|---|---|
| Common association | Tajima and commercial embroidery workflows | Brother and Baby Lock | Janome and some compatible Elna models |
| Main purpose | Machine stitch instructions | Machine stitch instructions and supported design information | Machine stitch instructions for compatible systems |
| Thread colors | Usually requires separate color assignment | Can preserve color information | Can preserve supported color information |
| Commercial production | Commonly used | Depends on equipment and workflow | Depends on equipment and workflow |
| Home embroidery | Depends on machine support | Common on supported machines | Common on supported machines |
| Editable stitch objects | Not retained like a native working file | Not retained like a native working file | Not retained like a native working file |
| Best first step | Check commercial machine compatibility | Check Brother/Baby Lock model compatibility | Check Janome model compatibility |
This comparison is a general guide, not a guarantee of compatibility. Individual machines can support multiple formats, and software may import or export formats that the machine itself cannot read directly.
Choosing the right embroidery format starts with the machine, not the artwork. A design can be correctly digitized and still fail to load if it is exported in an unsupported format.
Use the following as a starting point:
Commercial embroidery machines
DST is widely used in commercial workflows, including many Tajima-compatible systems. Check the machine manual for the exact supported formats.
Brother and Baby Lock
PES is a common choice for supported models. Check the model's manual before using a file created for a different machine generation.
Janome
JEF is commonly used for compatible Janome machines. Certain models may support additional formats or require a particular version.
Before transferring a file, confirm four details:
The exact machine make and model.
The file formats listed in the manual.
The maximum hoop or embroidery area supported.
The required method for transferring files, such as USB or supported software.
If you are ordering a custom logo, tell the digitizer your machine brand and model before the file is prepared. This reduces the chance of receiving a file that needs extra conversion.
The format alone does not determine whether an embroidered design will look professional. Digitizing quality, design size, fabric, stabilizer, thread, needle selection, hooping, and machine settings all influence the final result.
A well-prepared design may stitch cleanly when exported correctly to a compatible format. A poorly digitized design, however, may have gaps, excessive density, uneven lettering, thread breaks, or fabric puckering regardless of whether it is saved as DST, PES, or JEF.
The file format is responsible for communicating the stitch instructions. It does not automatically correct problems in those instructions.
Stitch type: Satin stitches, fill stitches, and running stitches are appropriate for different shapes and details.
Stitch direction: Angles should suit the design, fabric, and intended visual effect.
Underlay: Appropriate underlay can help stabilize the fabric and support top stitches.
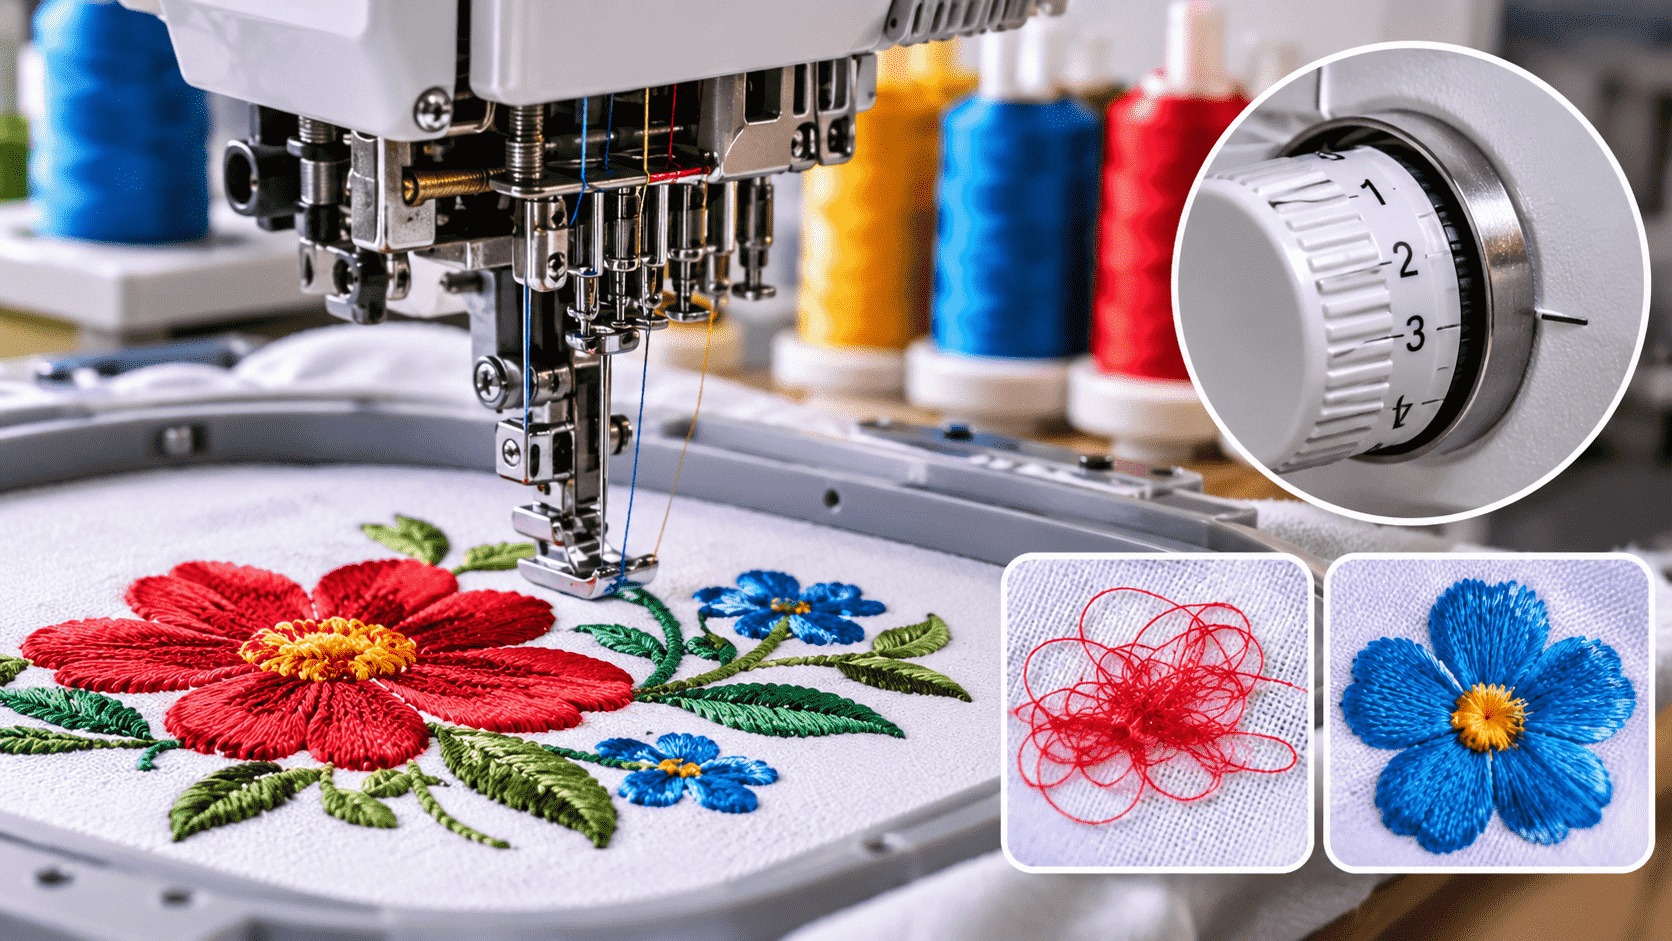
Density: Too many stitches can create stiffness and thread breaks; too few may leave gaps.
Pull compensation: Some shapes need adjustments to account for the way fabric moves during embroidery.
Design scale: Small lettering and fine details may need to be redesigned rather than simply reduced.
Fabric and stabilizer: A cap, polo shirt, towel, and structured patch material each present different challenges.
Converting an embroidery file means translating its stored instructions into a format that another supported application or machine can use. The process can be useful when the original format is not compatible with your equipment, but conversion is not the same as redigitizing.
For example, if you receive a DST file and need PES for a compatible Brother machine, embroidery software may be able to export a PES version. The resulting file should still be inspected to make sure the stitch sequence, color stops, design placement, and other supported details remain appropriate.
Machine stitch files often contain expanded stitch movements rather than the original objects used to create the design. A machine file may not know which group of stitches originally formed a satin column, a lettering object, or a fill area.
Consequently, converting a stitch file does not necessarily recover:
Original editable shapes and stitch objects.
The digitizer's original density and underlay settings.
The design's editable lettering or font information.
Missing color names or the original thread palette.
The flexibility to resize the design without recalculating stitches.
A conversion tool can change how the available stitch data is encoded. It cannot reliably reconstruct information that was never retained in the source file.
Conversion may be reasonable when the original design is already suitable for the intended size and fabric, the target machine supports the output format, and the exported file passes a preview and test stitch.
Consider professional digitizing or redigitizing when the design needs significant resizing, has very small details, is intended for a different material, or produces poor results during testing.
One of the most common misunderstandings is assuming that a DST, PES, or JEF file contains everything needed to edit the original design.
In practice, it is useful to distinguish between two categories of files.
Machine embroidery files are intended to communicate stitch instructions to compatible machines. DST, PES, and JEF are examples of formats used for machine workflows.
Native or working files are created by particular digitizing applications and can preserve editable design objects, settings, and other project information. Examples include software-specific formats such as Wilcom EMB. Availability and capabilities depend on the application.
A working file is valuable when a logo may need future edits. You might need to change lettering, adjust a shape, modify stitch direction, or prepare a different size for a new garment.
A machine file remains necessary for production, but it is not always the best file for making major changes.
If you are commissioning a logo for long-term use, ask which machine formats will be delivered and whether an editable working file is available. Confirm the deliverables before placing the order, because not every service includes native project files.
The file format is only one part of preparing an embroidery design. Giving the digitizer clear artwork and production requirements helps the design work better on the intended product.
Provide the cleanest version of your logo or design available. A high-resolution image, vector artwork, or clearly scanned illustration is usually more useful than a blurry screenshot.
If the artwork contains tiny text, gradients, shadows, or complex effects, tell the digitizer which details must remain recognizable. Some visual effects need to be simplified to work in thread.
A design intended for a small shirt chest needs a different approach from one intended for a large jacket back. Share the required width and height rather than expecting the digitizer to guess.
Resizing a stitch file after digitizing can affect stitch density and detail. Significant size changes may require adjustments or a new digitizing version.
Mention whether the design will be stitched on a polo shirt, cap, hoodie, towel, canvas bag, denim jacket, or patch material.
Different fabrics stretch, compress, and respond to stitching differently. The digitizing approach should take the intended material into account.
Supply the preferred thread colors or a reference image. If color accuracy matters for a brand logo, identify the intended thread palette where possible.
The colors shown in a preview may not correspond exactly to the thread inventory at the embroidery shop. A color chart can help the operator make the correct assignments.
Tell your digitizer the exact machine make and model and the preferred output format. If you do not know the format, ask the machine supplier or check the manual before ordering.
This simple step can prevent unnecessary conversions and reduce production delays.
Even when you select a format that appears correct, problems can occur during file transfer, preview, or production. The solution depends on what the machine or software is reporting.
| Problem | Possible Reason | Recommended Action |
|---|---|---|
| Machine does not recognize the file | Unsupported format, incorrect extension, or transfer issue | Confirm supported formats and export the file correctly |
| Thread colors look different | The file or software uses a different palette, or color information is not retained | Follow the digitizing color chart and assign threads before stitching |
| Design exceeds the hoop | The design dimensions exceed the available embroidery area | Resize appropriately or prepare a version for the correct hoop |
| Stitches look crowded | Excessive density, unsuitable scaling, or fabric-related issues | Review digitizing settings and test on the intended material |
| Small lettering is unreadable | Lettering is too small or contains too much detail | Simplify the lettering or create a suitable digitized version |
| Design stitches differently after conversion | Some data or metadata may not transfer as expected | Preview the converted file and run a test stitch |
| The design cannot be edited easily | Only a machine stitch file is available | Request the native working file if future editing is required |
Do not solve every file problem by changing the extension. Renaming design.dst to design.pes, for example, does not convert the internal data. Use compatible embroidery software to export the file into the correct format.
A short test can help identify problems before you embroider a large batch of garments or patches.
Follow this practical checklist:
Open the file in compatible software. Confirm that the design loads and that its dimensions appear correct.
Review the design preview. Look for missing sections, unexpected color stops, misplaced elements, and unusual stitch paths.
Check the hoop area. Make sure the design fits within the usable embroidery field of your machine.
Confirm the thread sequence. Compare the planned sequence with the color chart and available thread.
Inspect the fabric and stabilizer. Choose materials suitable for the garment or patch being produced.
Run a test stitch. Use the intended material where possible and watch for thread breaks, puckering, gaps, and poor registration.
Review the finished sample. Check lettering, edges, density, coverage, and overall appearance before beginning bulk production.
A successful preview is helpful, but a physical test stitch remains important for designs intended for commercial production.
A logo file does not become production-ready simply because it has been saved in DST, PES, or JEF. The design needs a stitch plan that accounts for its shapes, size, material, and intended use.
Professional embroidery digitizing translates visual artwork into a practical sequence of stitches. This includes selecting stitch types, adjusting stitch directions, planning underlay, controlling density, arranging color changes, and considering the way fabric behaves under the needle.
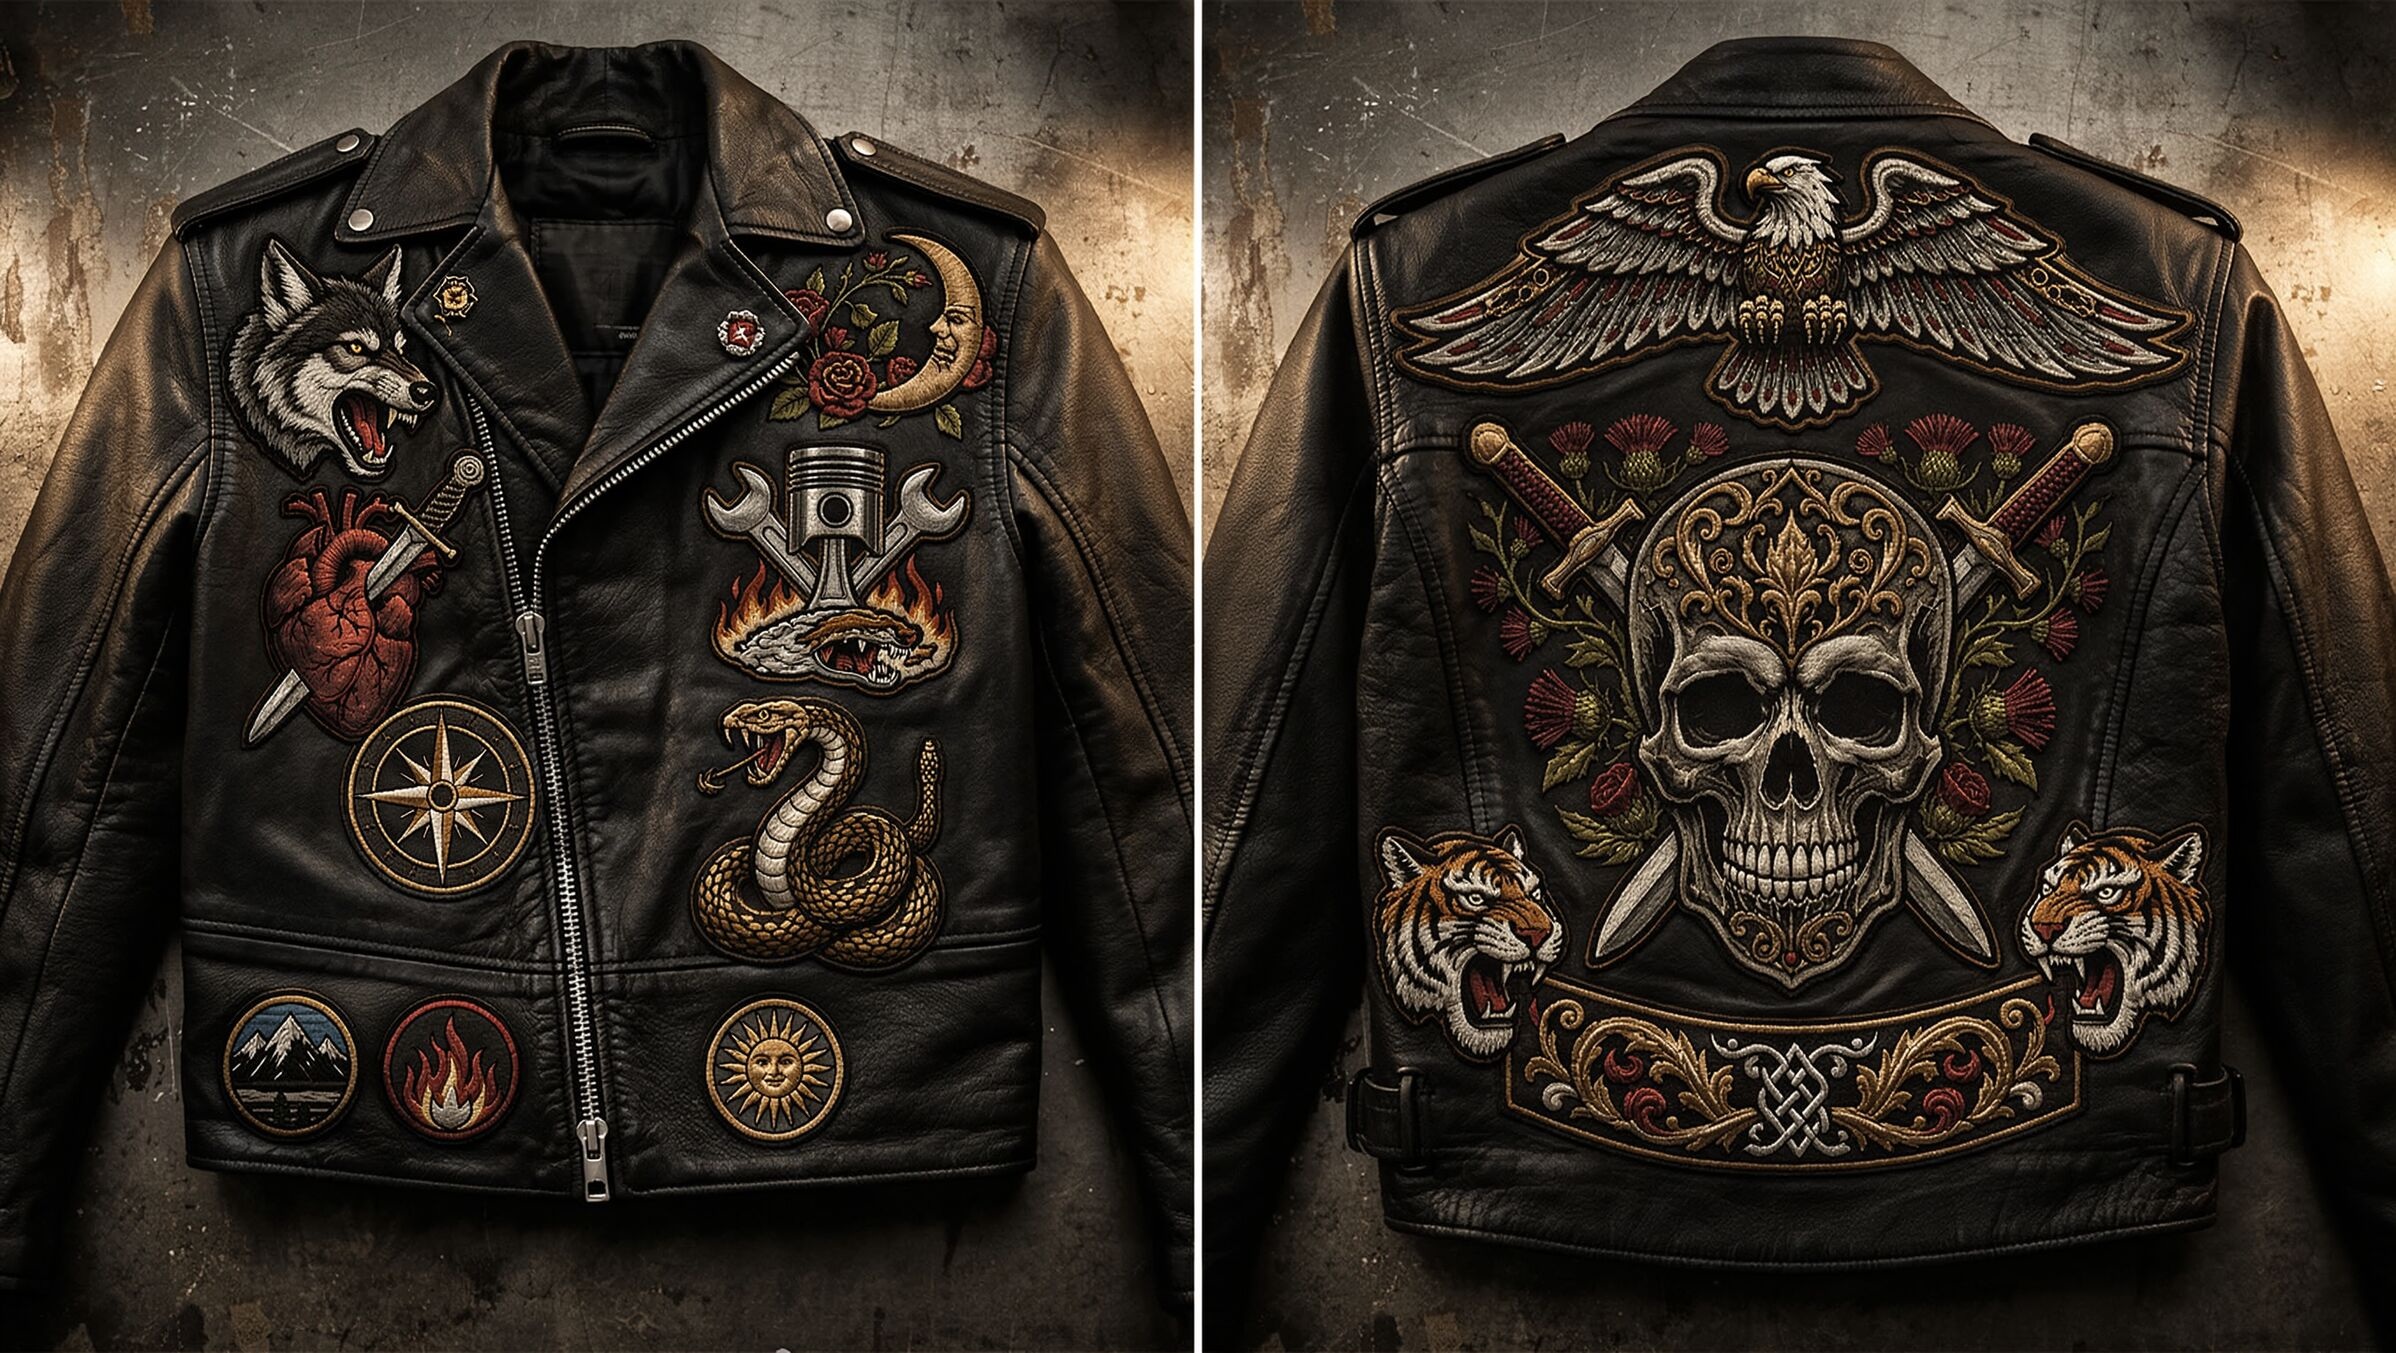
For example, a detailed logo embroidered on a cap may need different stitch planning from the same logo on a flat cotton shirt. A custom patch may need strong coverage and clean edges, while small lettering may need careful simplification to remain readable.
Migdigitizing provides embroidery digitizing services for logos, apparel, caps, and custom patch projects. When requesting a design, share your artwork, target dimensions, material, and machine model so the file can be prepared for the intended application.
The objective is not simply to produce a file that opens. It is to prepare a design that is suitable for the intended embroidery workflow and can be evaluated through a proper test stitch.
Understanding DST vs PES vs JEF makes it easier to choose the right file for your embroidery machine and avoid common production problems. DST is widely used in commercial workflows, PES is common with compatible Brother and Baby Lock machines, and JEF is commonly associated with Janome systems.
Before ordering or converting a design, verify the supported format for your exact machine model. For custom logos, apparel, and patches, provide the digitizer with your production requirements so the design can be prepared for its intended use.
Nov 19 , 2026 at 06:54:00
Nov 16 , 2026 at 06:47:49
Oct 30 , 2026 at 09:32:40